Rename a Project
Related Topics
- Add Files to a Project
- Create a Bookmark for a Project
- Creating Projects via My Workspaces
- Delete a Project
- Personalized Content for Easy Access and Sharing
- Remove Files from a Project
- Remove My Workspaces Listings (Unsubscribe)
- Secure a Project
- Subscribe to Bookmarked Locations
- What is "Subscribing" in Worldox
- Working with Projects
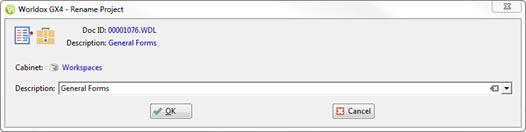
If the Project is visible in My Workspaces, you can simply right click that listing and select Rename Project from the right-click menu. That opens the Rename Project dialog:
The other option is to use the left-side navigation panel, search or other tools to find the project you want to rename. Select it on the file list and click Edit Metadata  in the toolbar, or select Metadata from the Edit menu. When the Edit Metadata dialog appears, change the Description field (which is the project name) as needed, then click OK.