Worldox and Fujitsu ScanSnap Integration ix1600 Desktop
To integrate Worldox with the Fujitsu ScanSnap ix1600 Desktop Scanner, do the following:
1. Install the Fujitsu ScanSnap ix1600 scanner software on your machine per instructions provided with the scanner.
2. After you have installed the scanner’s software on your machine, begin steps to integrate the scanner with Worldox.
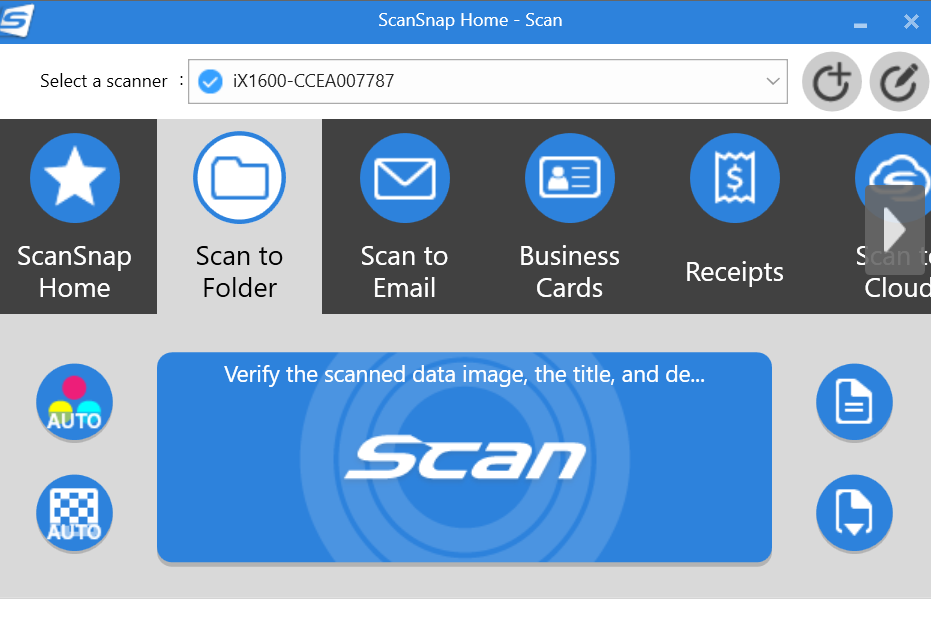
3. On your PC, launch ScanSnap Home from the Start menu.

The ScanSnap control panel appears.

4. Click the Scan button on the top left side of the screen. You can view options for setting up different profiles for various types of scans.

5. With the scanner selected, select Add Profile.
6. You must use an existing profile as a base.
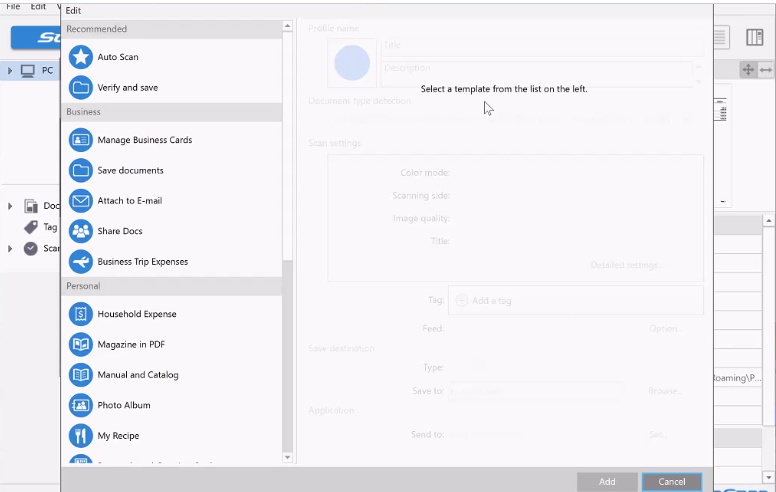
7. In this example, the Save documents profile is selected.
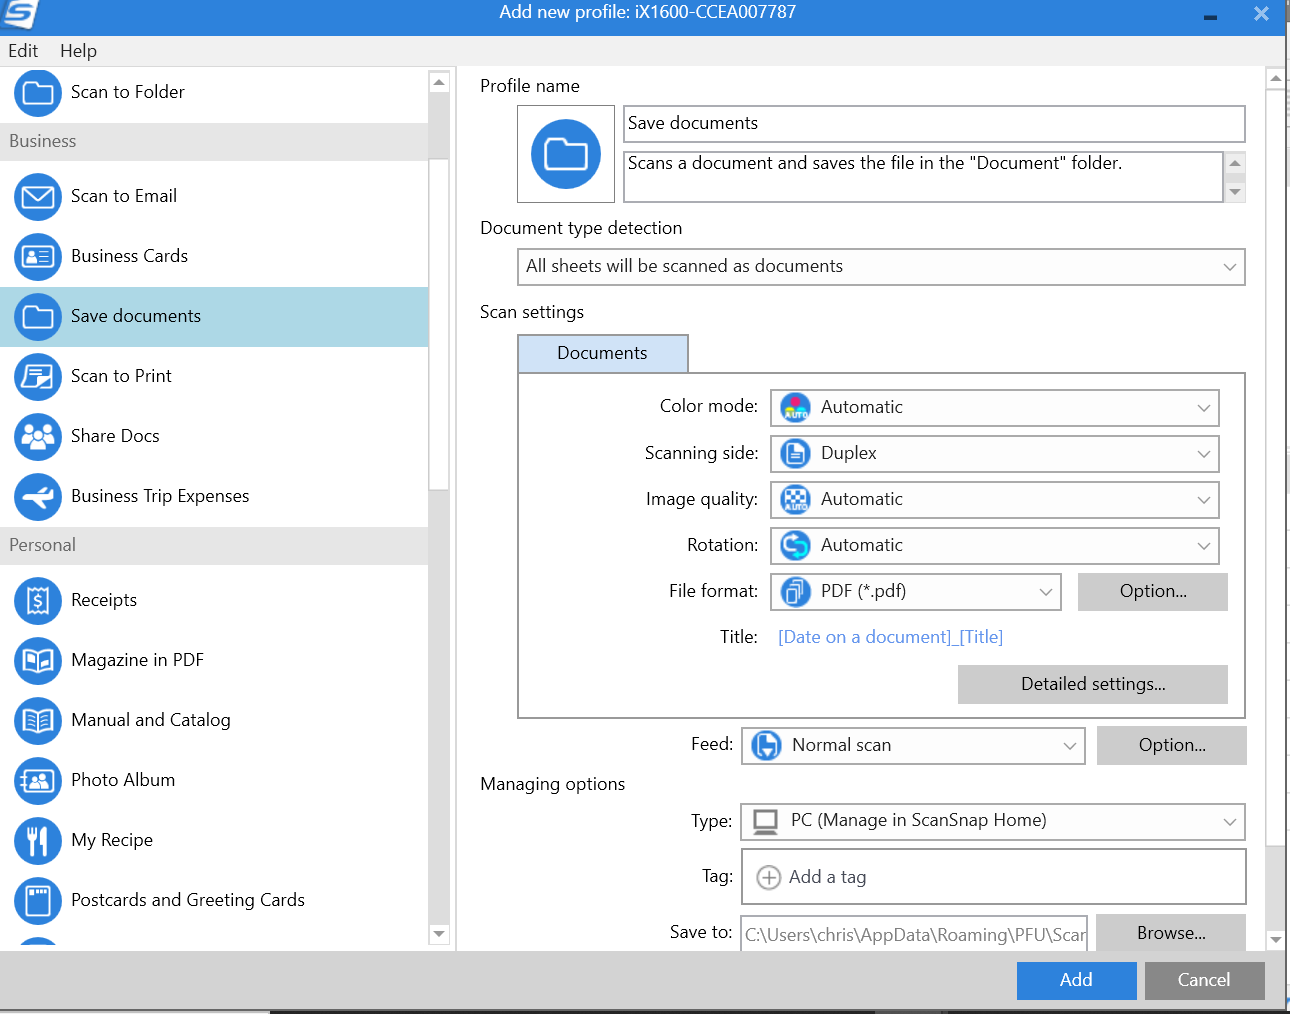
8. You can change the Profile name at the top (for example, Scan to Worldox) and enter a Description in the top fields on the right.
9. You can modify default settings if necessary. That is optional. However, to integrate with Worldox, you must change the Application setting towards the bottom of the screen.
10. To send the scan to Worldox, select Add or Remove from the Send to drop-down list.
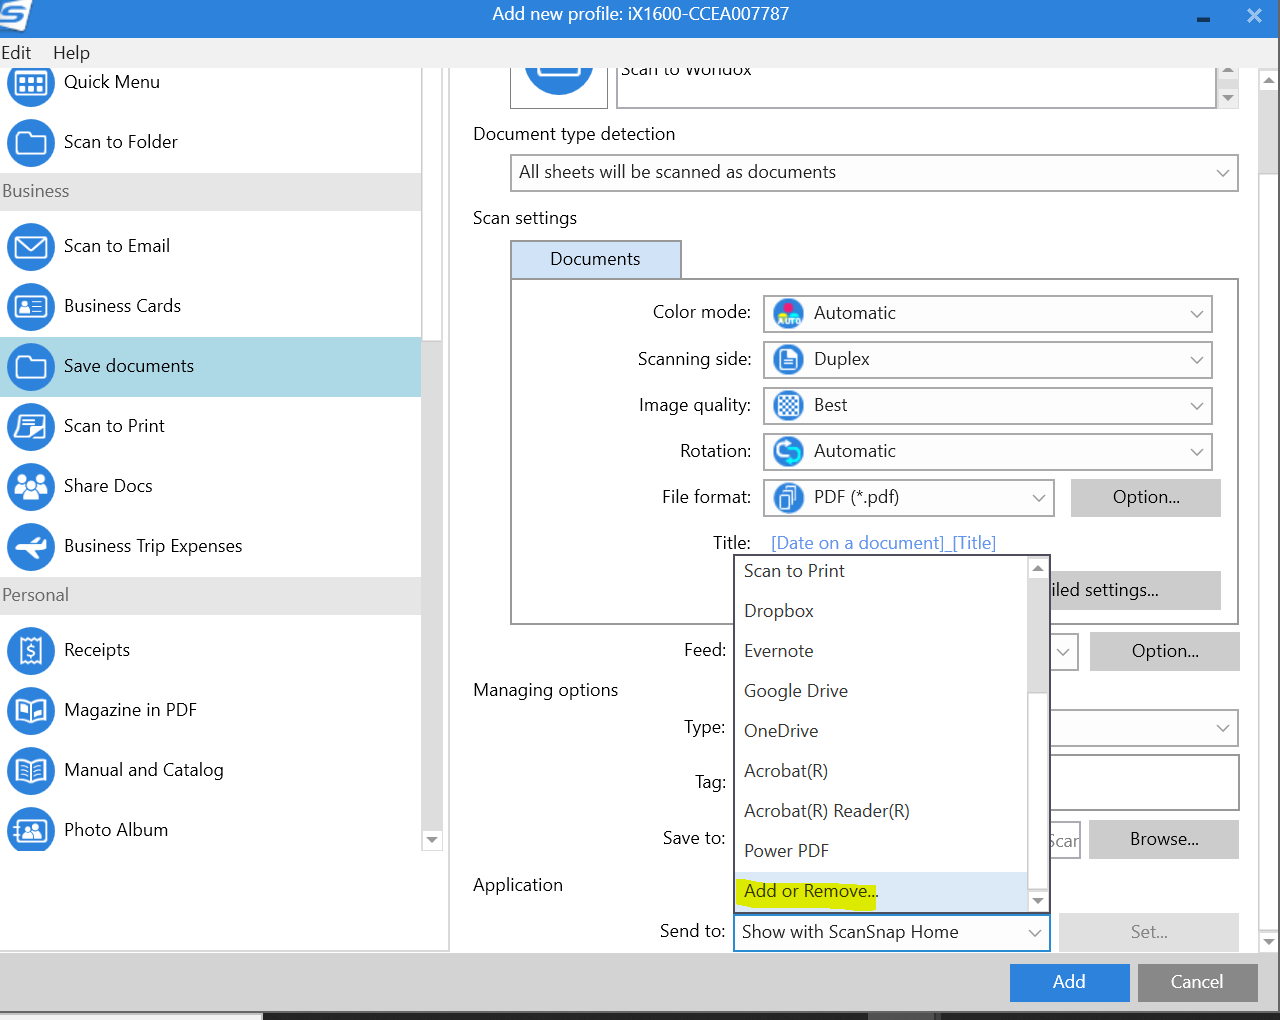
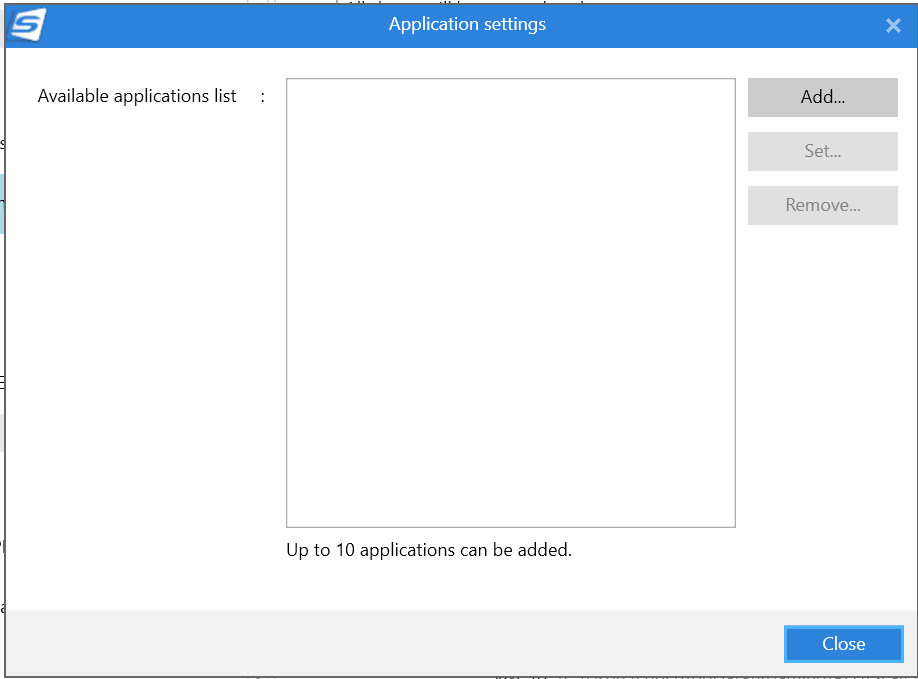
11. The Application Settings dialog appears. Select Add.
12. In the next dialog that opens, select Browse.

13. Browse to the local Worldox folder’s WDSCANSAVE.exe file which provides integration with the scanner.
In most cases this will be C:\Worldox on your local machine.

14. Select Open and then you will return to the previous dialog where you will see WDSCANSAVE.exe in the Application Path. You can enter Scan to Worldox as the Display name.
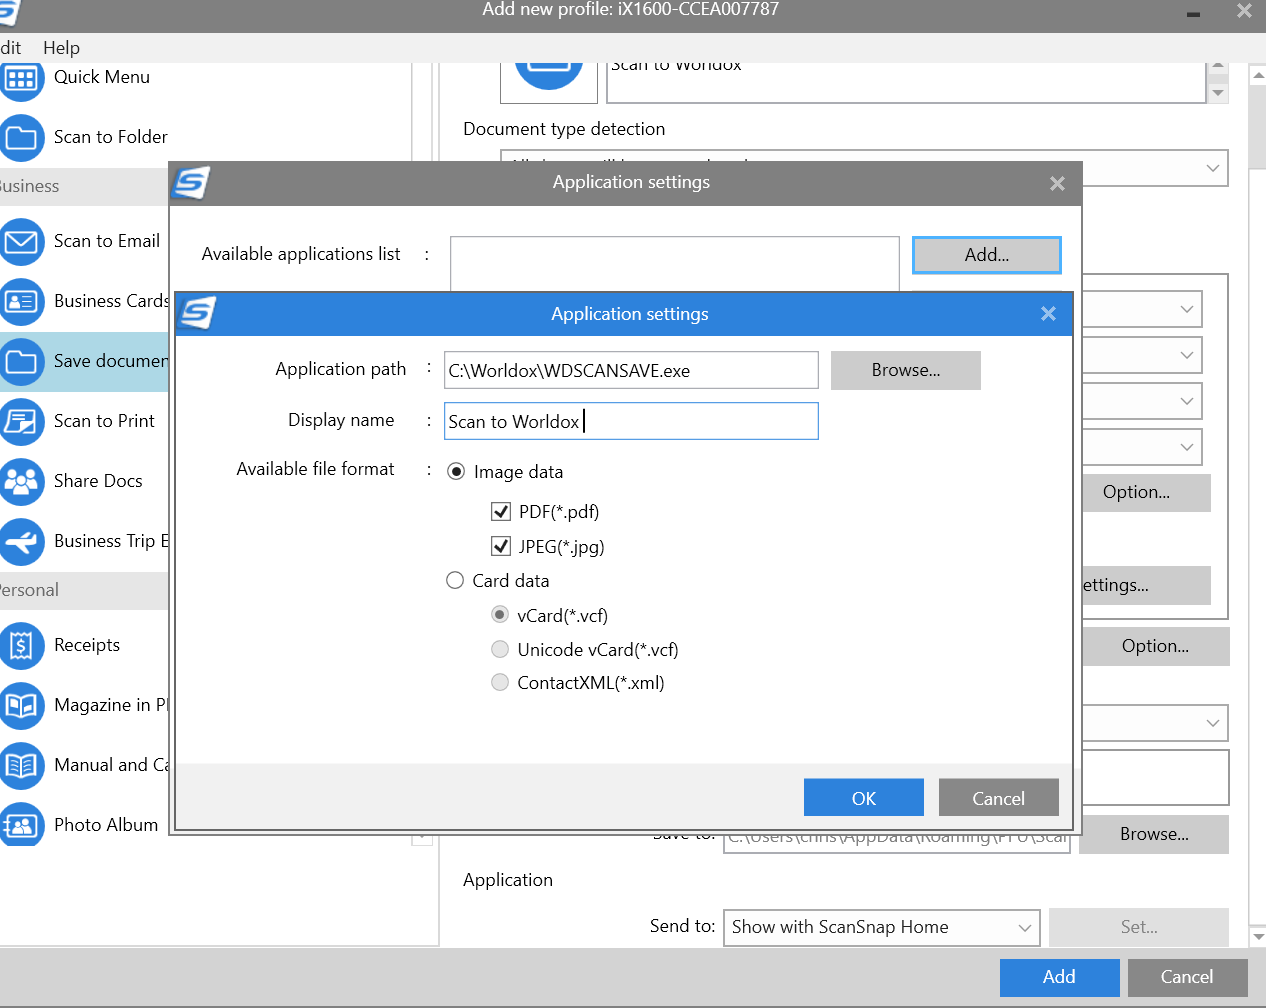
The next dialog shows that Worldox has been set as a destination application for the ScanSnap scanner.

15. Close that dialog. In the previous dialog, you will see Worldox in the Send to drop-down menu.

16. Select the Add button to finish adding Worldox as a Send to application for this sample Auto Scan template.

17. You can now see the Worldox template in the Home screen. You will see the same screen on your PC as on the scanner itself.
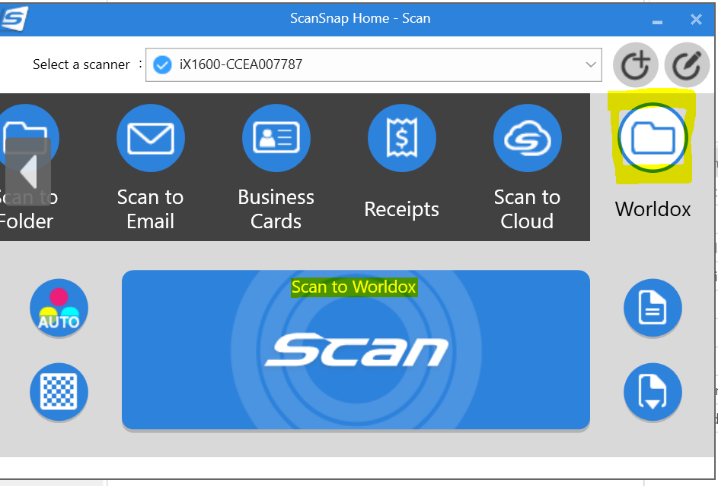
18. You can load a piece of paper into the scanner and select the Worldox template either on your PC or on the scanner. The status will show that the scan process is starting.
19. The Worldox Save As profile form appears. Enter or select field metadata as necessary and then select OK to save the scanned file into Worldox.

You are ready to go. Enjoy Worldox and ScanSnap as they work together.